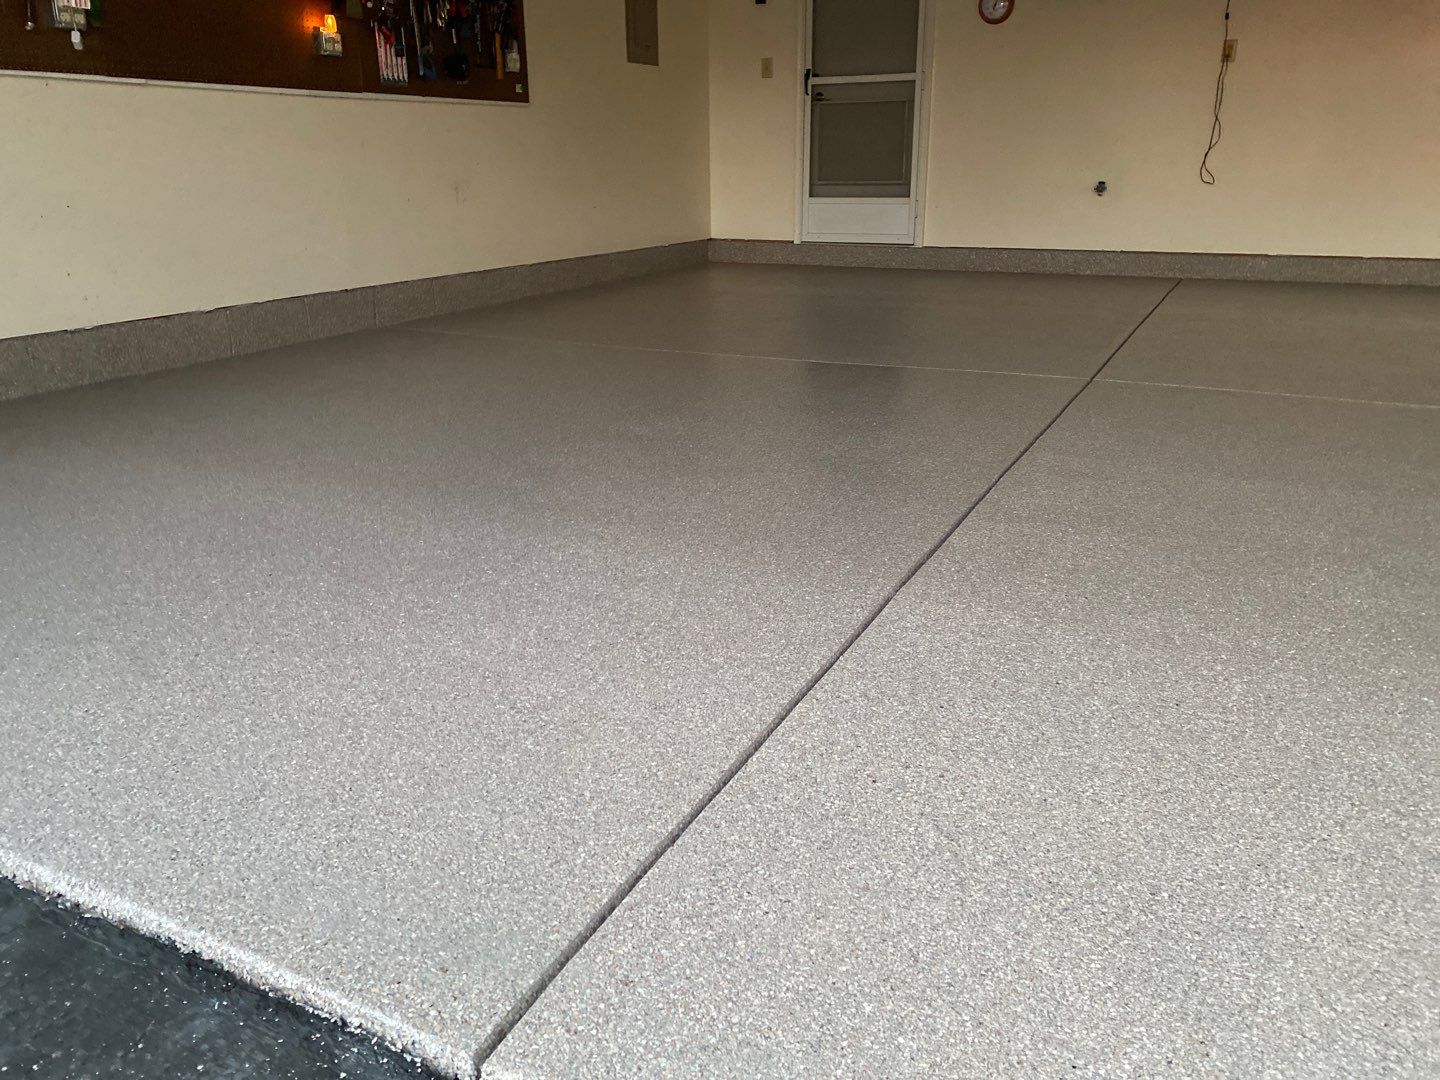
Our Floor Process
There’s no such thing as a one-size-fits-all approach to garage floor coatings. Our floor coatings are customized according to your specific needs, desires, and the requirements of your space. The experts here at Solid Garage Floor Coatings of Montana will adjust our process as your specific project necessitates for the best quality work and finished product.
Your floor coating should combine beauty and functionality so that it can both keep your concrete protected and maintain enhanced aesthetic appeal for years to come. Our floor coatings can be completed in one day, but we never sacrifice quality or attention to detail in order to finish quickly. Our priority is providing you with services and products that go above and beyond so that each and every one of our customers can enjoy a near-perfect floor coating every time they work with us.
The Process Of Installing A Floor Coating
In general, this is what you can expect from the process of obtaining a floor coating from us. Bear in mind that the specifications of your project may require us to alter our process in order to ensure that you receive the best quality services and floor coating for your unique circumstances.
#1. Preparation
The first step of our process is prepping your floors to ensure that your floor coating can properly adhere to it and that you don’t have any issues, like residual dirt and grime. We’ll clean the surface of any dust and debris.
Then, we’ll either use shot-blasting or diamond grinding in order to prep your floor for the coating. Our grinders are hooked up to vacuum systems in order to clean up dust particles as they’re generated. Grinding your floors prior to applying the floor coating helps it to both look better and to last longer.
#2. Concrete Restoration
If a floor coating is applied to a concrete surface that is covered in pits and cracks, those damages will be reflected in the finished coating and it won’t last anywhere near as long as it would otherwise. Thus, we use fillers and menders to restore your concrete so that there aren’t any cracks or pits to potentially ruin your new floor coating and so that it can be nice and smooth.
#3. Base Coat And Chip
Once your concrete has been ground down and is nice and level, we’ll mix, then apply the polyurea base coat. After the base coat has been laid down, we then cast the chips and flakes over the surface, giving your coating the color, style, slip resistance, and durability that you desire. Since the chips and flakes are cast by hand, this allows us to customize the look of your floor coating according to your specific desires.
#4. Set-Up
After the base coat and chips have been applied, we’ll set up for the rest of the floor coating process. Depending on the specifications of the project, this step of our process can take anywhere from 1 to 2 hours. This time allows the base coat to cure and us to get ready to finish the project.
#5. Floor Scraping
Following set-up, we then vacuum and scrape the surface of the base coat to remove any loose flakes so that your finished floor coating will be smooth and level.
#6. Polyaspartic Clear Top Coat
Once everything else is completed, we finish off your floor coating with a polyaspartic clear top coat. This is UV stable so that your coating won’t change colors on you and keeps your coating protected from damage.
Once we’re done, all that’s left to do is let your coating cure. Due to the nature of polyaspartic floor coatings, you can get back to using your garage after a mere 24 hours.
Client Testimonials
View More Testimonials

